#1 TRUSTED GARAGE FLOOR COATING Saint Augustine, FL
GARAGE FLOOR COATING
Are you looking for a reliable contractor to apply your epoxy garage floor coating? Don't look any further!
GARAGE FLOOR EXPERTS
GET THE BEST GARAGE FLOOR COATING In Saint Augustine, FL
Our residential garage floor coating customers benefit from our years of comprehensive industrial / commercial floor coatings knowledge. To assure effective coating installation, we employ the SAME time-tested installation procedure and techniques.
WHY CHOOSE US
LISTEN TO WHAT OUR SATISFIED CLIENTS HAVE TO SAY ABOUT US.
GARAGE FLOOR COATING IN HARRISBURG
"The entire team performed an excellent job on our hangar floor. These are professionals that are the finest in their industry. Unforeseen issues were immediately handled, and solutions were found and implemented. We admired their "can do" approach. In today's world of poor quality and many firms making excuses for poor craftsmanship, these guys are a breath of fresh air!"
GARAGE FLOOR COATING IN HARRISBURG
"This crew performed an outstanding job on the garage floor. They made certain that I understood what sort of product I was receiving and the benefits of employing the materials they did. Their crew kept on task, were available if I had any questions or concerns, and most importantly, provided a beautiful floor that looks wonderful and was done properly with the right materials. I couldn't have wished for a more positive experience."
GARAGE FLOOR COATING IN HARRISBURG
"Fantastic company! I can't say enough wonderful things to describe my experience. Very professional group that produced high-quality results. The owner, was extremely attentive to my needs and spoke with me at every step of the route. My hopes were exceeded by the garage floor. This firm comes highly recommended by me."
OUR PROCESS OF GARAGE FLOOR COATING
WE TAKE PRIDE IN WHAT WE DO
Epoxy flooring professionals | Saint Augustine, FL
To create a strong clean basis for the epoxy to attach to, grind and clean the concrete surface.
The first day, apply the base layer of epoxy and then grind again when dry.
After the last coat of epoxy has dried, polish and clean it.

WHAT MAKES US DIFFERENT
WE PROVIDE THE BEST GARAGE FLOOR COATING IN THE INDUSTRY.
Fast & Easy Scheduling
Our website allows you to book your epoxy installation work fast and conveniently. We will do our best to respond as quickly as possible.
Fast Competition Time
When we plan an epoxy floor installation, our goal is to complete the project in two days or less so that you can go back to enjoying your area as soon as possible.
Quality Coating Epoxy
We utilize epoxy products that are intended to last a lifetime without flaking or peeling. We provide a long-term service that you can rely on.
Reliable and Responsible
When you engage with us, you can be certain that you may contact us at any time if you have any questions or concerns about the epoxy job.
TIMELINE FOR A TYPICAL FLOOR PROJECT
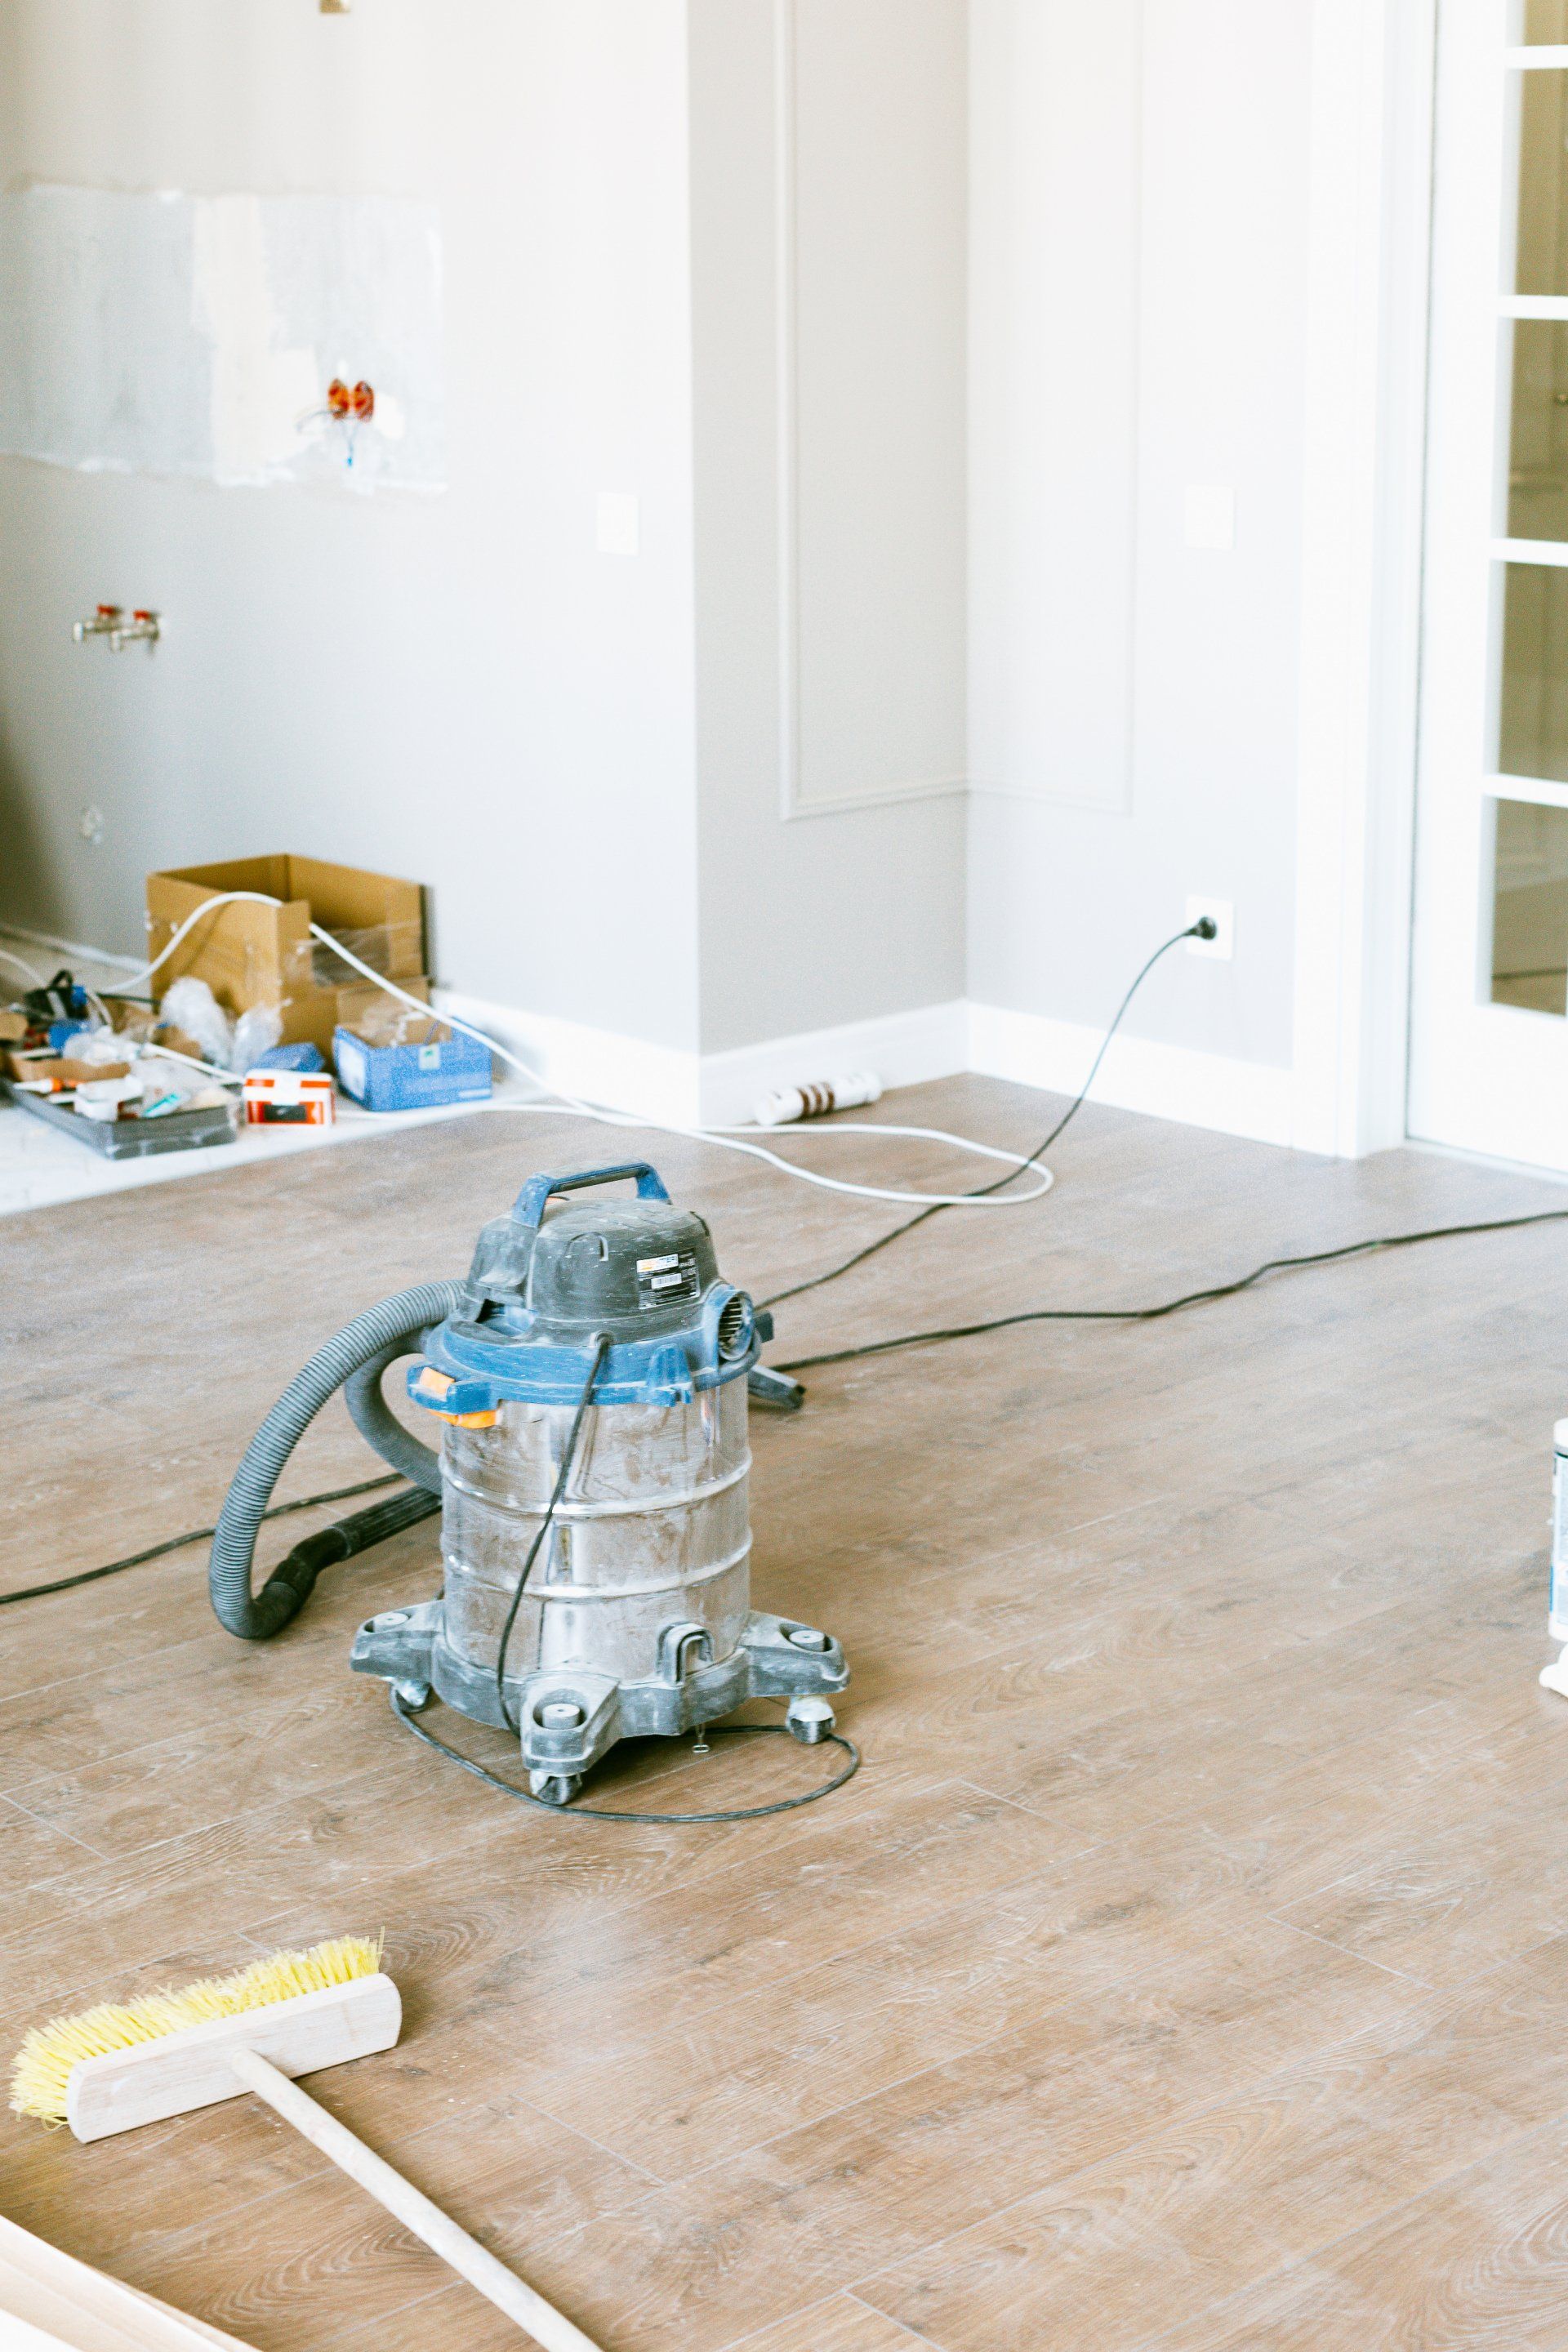
Floor Prep
8:00am - 10:00am
Stick plastic sheeting to the walls using painter's tape along the edge of the foundation or at the height to which you will apply the epoxy up the walls. Thoroughly sweep the floor to eliminate debris and dust. Dust out edges and seams using an old paintbrush.
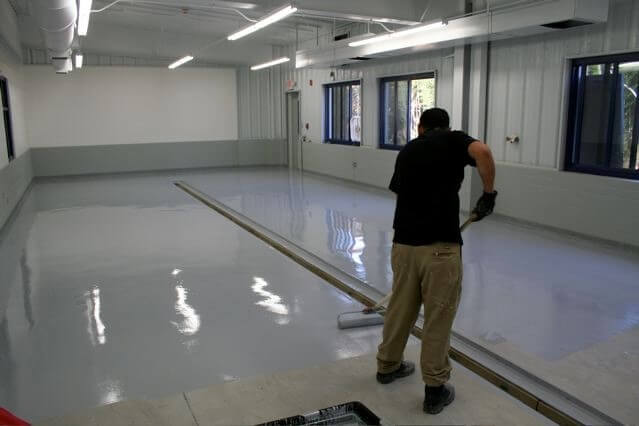
Base Coat
10:00am - 01:00pm
Fill a roller tray with a liner with the epoxy. Cut a line of epoxy around the perimeter of the area to be coated with a 3-inch paintbrush, then paint it into seams and corners.
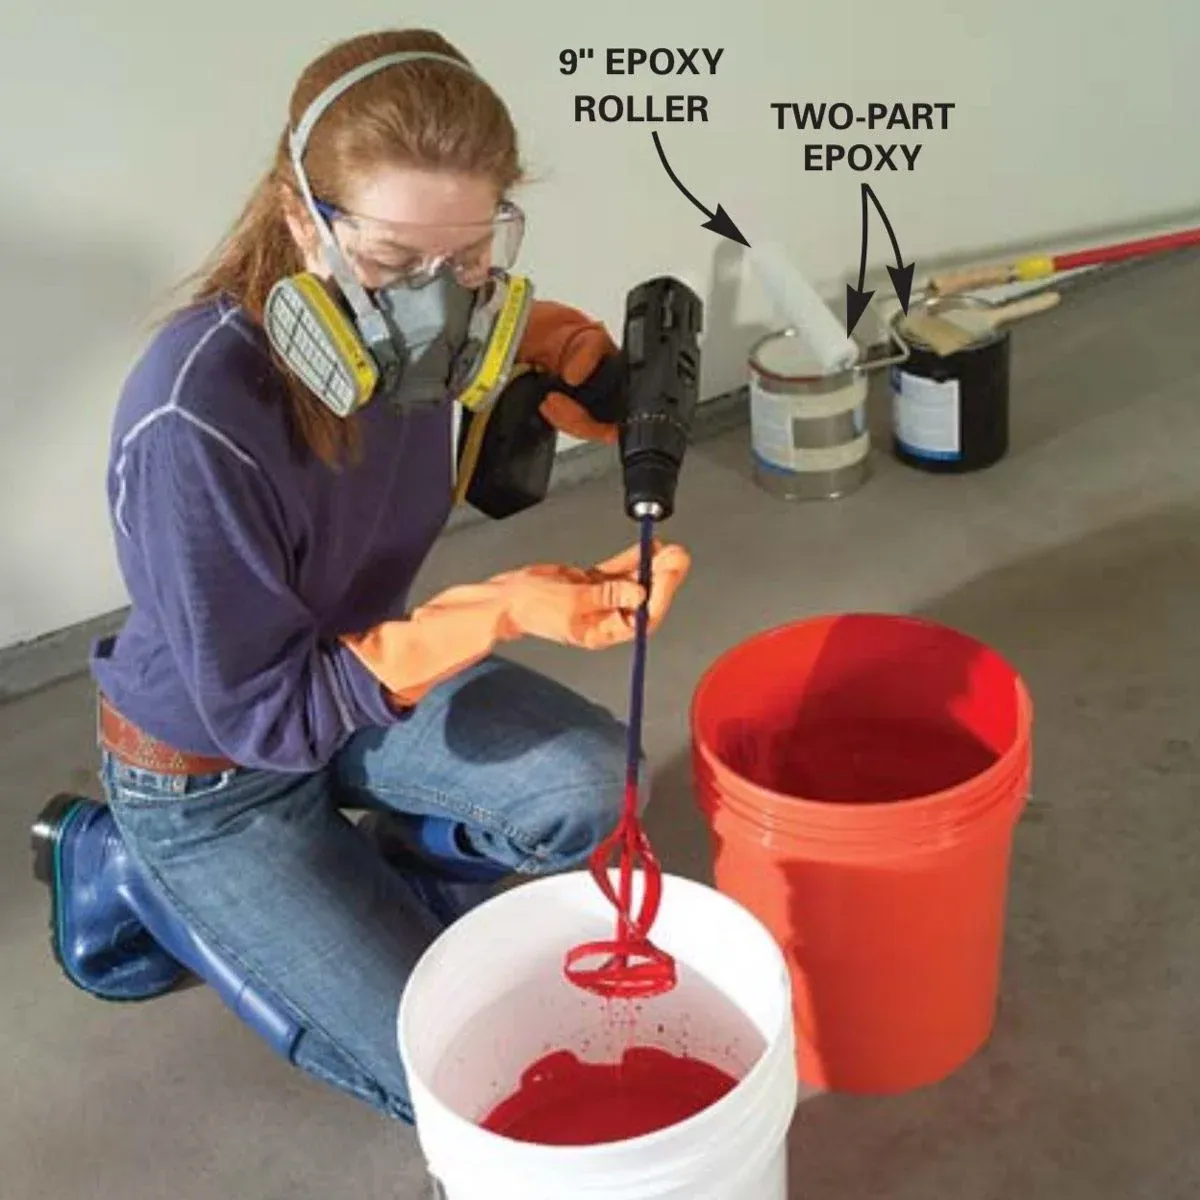
Prep for Top Coat
01:00pm - 03:00pm
Both the epoxy paint and epoxy hardener cans should be opened. Begin by swirling the epoxy paint, then gradually pour in the hardener. Make careful you scrape away all of the hardener from the paint. Stir the two ingredients together until completely combined. Replace the lid loosely on the can and lay it aside for 30 minutes, away from the sun. As the chemicals react with one another, the container may get warm to the touch.
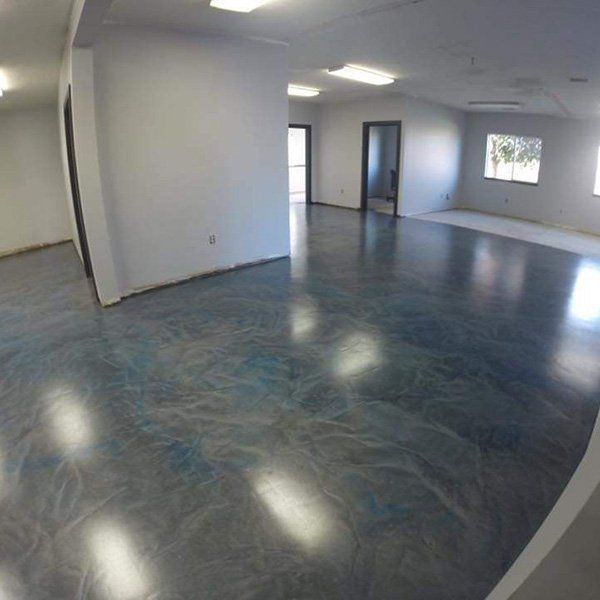
Apply Top Coat
03:00pm - 05:00pm
You will have around 2 hours to work with the combination. Cut in at corners, edges, and seams using a clean paintbrush. Then, starting at the farthest place from the exit, roll on the clear coat in 10-by-10-foot portions as you did with the epoxy paint. Work in one direction initially, then in the perpendicular direction on each area, progressing until the entire floor is coated. At first, the coating will seem white or milky, but it will dry clear. Allow 24 hours for foot traffic and up to 72 hours for automobile parking—longer in humid or cold conditions.
LET US DO THE DIRTY WORK
WORKING WITH US IS EASY AS 1-2-3
1
GET A QUOTE
Request a free and quick quotation for your customized project. We will do our best to contact you as soon as possible once you request an estimate.
2
PICK A DAY
If you accept our quote, the next step is to choose a time on our calendar that works best for you. We provide flexible and affordable scheduling alternatives.
3
ENJOY YOUR FLOOR
The final step is to relax and enjoy your new gorgeous epoxy floor!
HOW DOES POLYASPARTIC DIFFER FROM EPOXY?
When it comes down to it, there is no clear way to conclude that one floor coating technology is superior to another. Polyaspartic and epoxy each have advantages and disadvantages, and it is up to you to determine which is a better choice for you. After weighing the benefits and drawbacks of various installation methods, you should have a good idea of what you require for your place.
| POLYASPARTIC COATINGS | EPOXY CONCRETE COATINGS | |
|---|---|---|
| Installation | 1 Day | 3+ Days |
| Dry Time | 4 Hours | 1 Day between each layer |
| UV Durability | Sunlight will not cause discoloration | Will become yellow over time |
| Applications | Indoor and Outdoor | Indoor Only |
| Durability | Hard, flexible finish, resistant to chipping, craking, pealing, and abrasion | Hard, vulnerable to chipping, cracking, pealing, abrasion |
| Overall Strength | High | Low |
| DIY Installation | Not typically available | Home Improvement Store, not recommended |
| Air Quality | Certified Low VOC, virtually no odor | High VOC, outgassing can impact air quality |
| Price | More expensive | Less expensive |
Frequently Asked Questions
GARAGE FLOOR COATING FAQ
-
WHAT IS THE DIFFERENCE BETWEEN A PROFESSIONALLY INSTALLED COATING AND A HOME IMPROVEMENT STORE DIY KIT?
Professional garage floor coating installers utilize high-solids epoxy resins, but the DIY kit is typically an epoxy paint, which is a water-based paint with some epoxy resin added so that the word epoxy may be sold on the label. There is also a significant difference in the amount and quality of prep work that experienced installers can do.
-
WHAT IS THE DIFFERENCE BETWEEN EPOXY AND PAINT?
Epoxy is a two-part product made up of an epoxy resin (often referred to as Part A) and a hardener (Part B). Before use, the two components must be combined together. It's crucial to note that, unlike paint, high-quality epoxies are high-solids (often 98-100 percent solids), which means they don't include any water or other elements that will evaporate, and the two components will never dry until they're combined together. When the epoxy and hardener are put together, the epoxy cures and the components begin to cross-link. The strength of epoxy is due to this cross-linking.
Paint is often a water-based acrylic latex substance. When a thin layer of paint is applied to a surface, the water evaporates and the paint dries. This implies that, unlike epoxy, when you apply paint to your floor or a wall, it will be considerably thinner when dried than when it is wet.
-
ARE THERE MANY TYPES OF EPOXIES?
Absolutely. Epoxy, like paint, comes in a variety of sorts and brands that vary in price and quality. If you are considering having your garage floor coated, be sure that the contractor you choose uses high-solids, non-water-based materials.
-
HOW DO YOU GET THE FLOOR READY?
Every garage floor coating operation begins with a concrete grinder, which utilizes metal-bonded diamond tools to open the pores of the concrete, abrade the surface, and remove contaminants such as oil, grime, and grease. Consider this technique to be similar to sanding a piece of wood before painting or staining it. The holes and cracks are then fixed and smoothed. Before coating, the floor is swept, cleaned, and/or washed.
-
DOES GRINDING PRODUCE A LOT OF DUST?
The concrete grinder is linked to a massive, industrial vacuum that is meant to keep concrete dust from being discharged into the air, and it does an excellent job of it. It is conceivable, however, that some dust will escape. If you do not want dust on any of your things, move them out of the garage or cover them with plastic during this procedure.
-
HOW MANY LAYERS DO YOU APPLY?
The amount of levels is determined on the system you select. Our entry-level coating, is made up of one layer of epoxy with a partial spread of colored vinyl flakes and a clear top coat of a high-solids urethane with a traction enhancing ingredient. The Gold System, our most popular coating, is composed of one body layer of epoxy with a full broadcast of colorful vinyl flakes, a clear grout coat of polyaspartic, and a top coat of a high-solids urethane.
-
HOW LONG WILL THE PROCESS LAST?
Prepping and coating your garage floor might take up to four days depending on the size of the garage, the quality of the original concrete, and the epoxy technique used.
-
WHEN WILL I BE ABLE TO USE MY GARAGE AGAIN?
When the process is finished, you should be able to walk on your newly coated floor the next day. Allow 48 hours for the floor to cure before reintroducing heavy goods such as work benches and freezers, and at least 72 hours before parking on it.
-
HOW LONG WILL THE COATING LAST?
Your garage floor coating will be backed by a lifetime warranty that it will never peel. The top coat will gradually lose its gloss over time, but your coating should endure for at least 15-20 years.
-
CAN I APPLY A NEW TOP COAT?
If your floor is beginning to wear down and lose some of its luster, it may be renewed by performing a deep clean, abrading the surface, and putting a new top coat. Again, your floor should last at least 15 years before requiring a fresh top coat.
READY TO TRANSFORM YOUR GARAGE?

Family Owned and Operated
We are a home services company that always strives to meet deadlines and use the best products available. We carefully choose which screen products and tools that we use.
Business Hours
- Mon - Fri
- Open 24 Hours
- Sat - Sun
- Closed
Contact Info
2800 N 6th St, St Augustine, FL 32084, United States of America
info@pantherahomeservices.com
Useful Links
All Rights Reserved |


